Skull-lugs - For a Skull Toy Show at TNTS
My first submission to a skull themed art toy exhibition featuring mostly 3D sculpted and printed works.
3D printed resin, acrylic-based paints
This was my entry for a Skull-themed toy exhibition held at This is Not a Toy Store (TNTS) in Melbourne, Victoria and my first submission to an exhibition for a very long time. It was a great learning experience and even greater time seeing what amazing things other artists had created for the show. I'm also grateful for the name which was provided by the good folks at TNTS.
A Wild WIP
The progress of this one was frankly rough. The design started as a loose sketch but my primary goal was to adopt what I learned from, making my bootleg mushrooms into a smoother workflow. Essentially I wanted to sculpt something in Nomad, print a prototype with my resin 3D printer, create a mould and then create resin casts as I wanted.
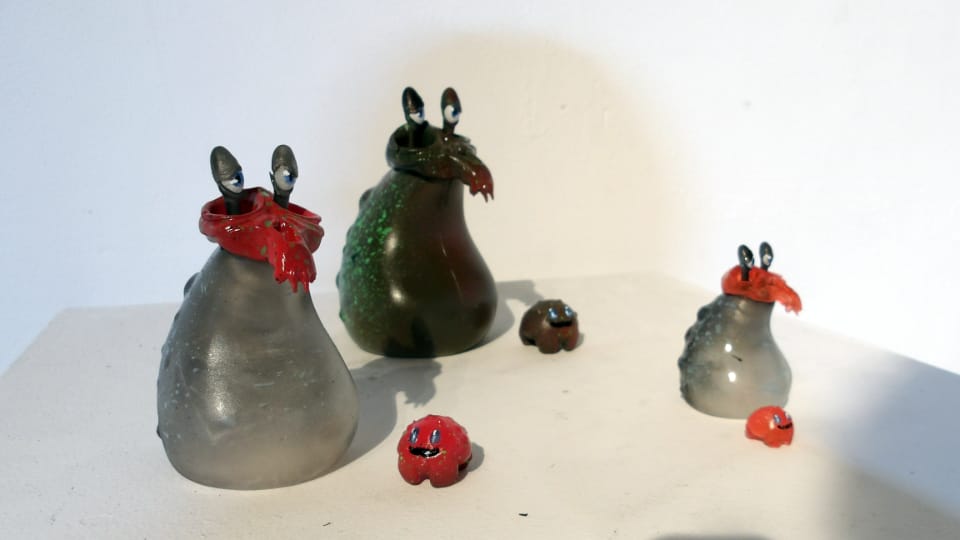
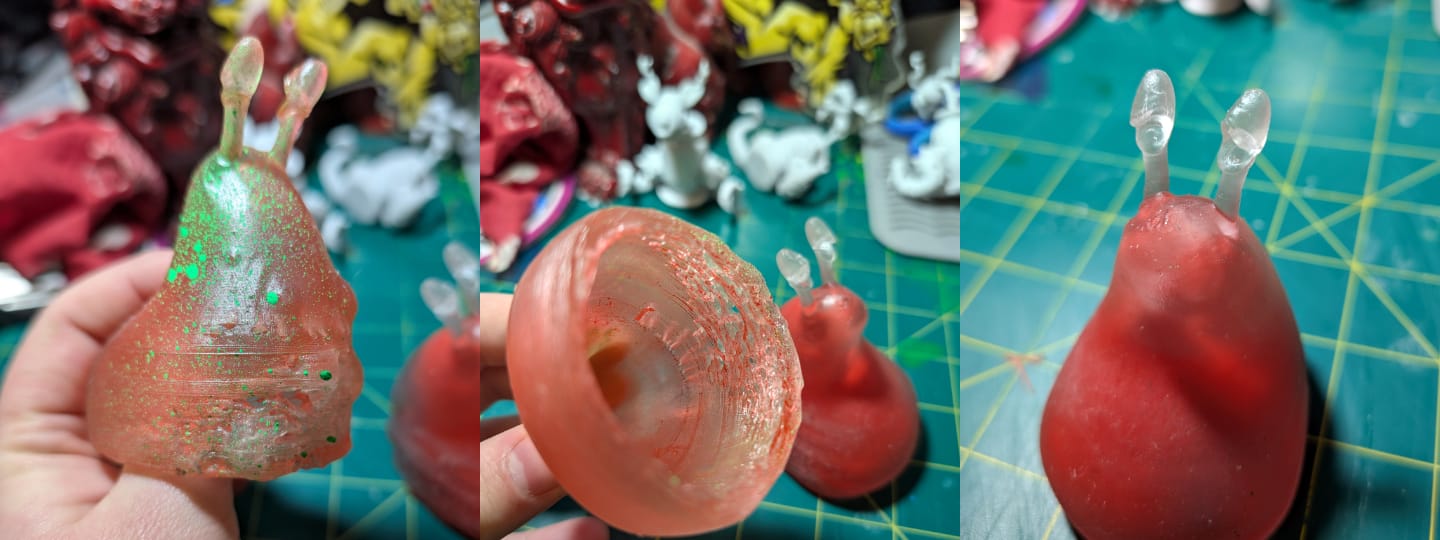
Conceptually, I wanted to make a transparent outer 'shell' (the Sklugg in this case) which reveals an inner character that contrasts the outer. Do they have a symbiotic relationship? Are they just a metaphor? Who knows. (I should, but don't. Or maybe I do but I won't tell).
I kept the design loose so I had ample room to explore what I could do in Nomad with the intention to avoid overcomplicating things. In this case not having a clearer vision of the end goal meant figuring out design challenges in an unfamiliar environment while overcomplicating things.
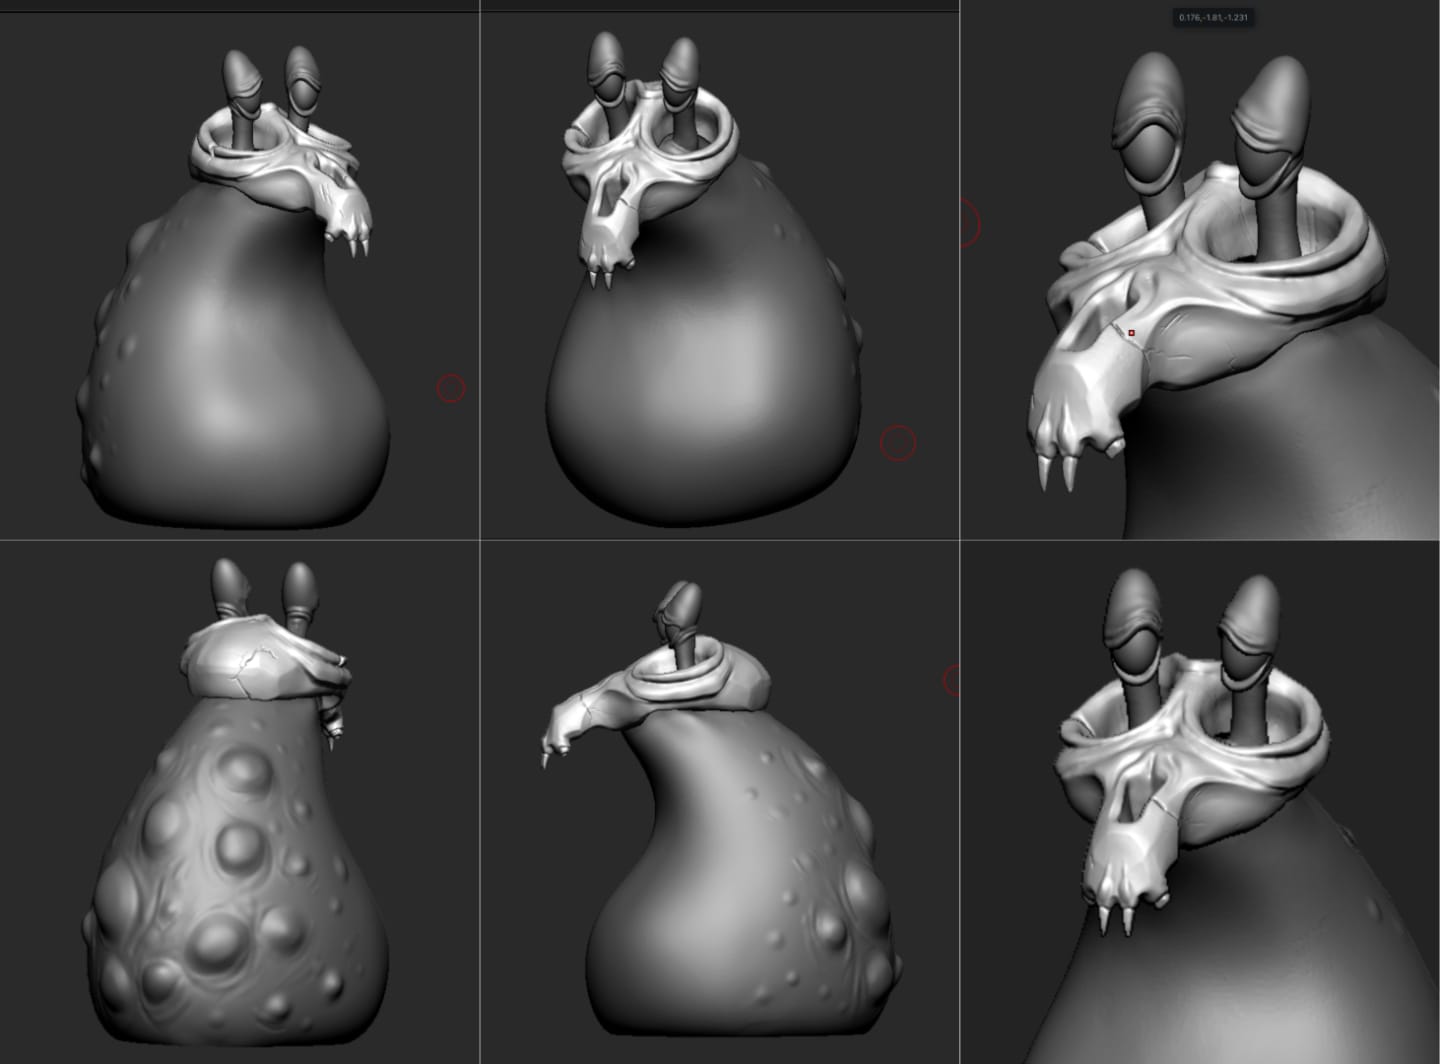
This was my first time messing around with Nomad Sculpt. Naturally I went in without a good plan and minimal understanding of the program (don’t do this). Despite the learning pains involved with learning a new UI and understanding 3D sculpting concepts, I learned a lot and enjoyed it.
However, my biggest pitfall in this process came from a limited understanding for the foundations of remeshing objects. This resulted in tears in the geometry or areas where the mesh was 'thinned' out as if I were overstretching a single piece of clay. Besides the expected learning pains of getting used to a new UI and 3D sculpting concepts, my biggest pitfall came from over stretching the meshes used, resulting in some torn geometry.
Since starting this article I participated in a Nomad sculpt workshop facilitated by the exceptional John Mezzini who gave a crash course in Nomad. Check out his work over at @jmezz.sculpt.art on Instagram.

Here's some key takeaways from the workshop which would have saved me a heap of time with this project:
- Shapes are not infinite and can be overstretched, so joining them and remeshing is critical. In hindsight this makes a lot of sense in the context of traditional sculpting. You can only do so much with the clay you have.
- There's an option to keep smoothing always on in Nomad. I didn't know why my models looked rough even at a high fidelity.
- Select a suitable amount of tris when remeshing models to ensure you have a high fidelity mesh (like having more surface area to work with) without overdoing it. I'm finding anywhere from 80 to 150 is enough depending on how detailed the object should be.
Printing and Mould Fails
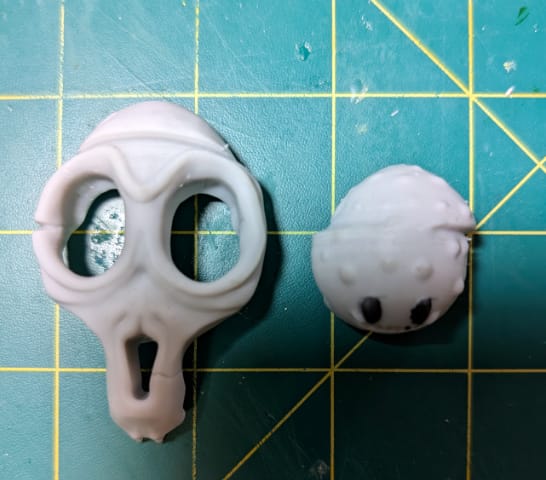

There was a good amount of trial and error involved in the printing process. Some of the errors above were the result of incorrect print settings for the type of resin used, not having enough resin or having the machine get bumped mid-print.

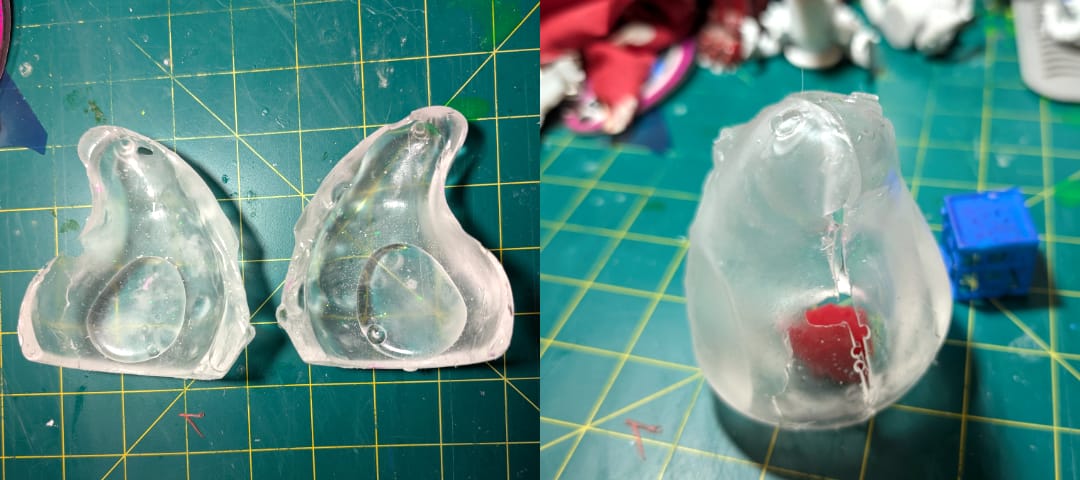
The real pain came from my attempts to create moulds for each piece while the deadline was two days away. Multiple things went wrong and I ended up scrapping the moulds in favour of the 3D prints I already had. Better to have something than nothing. The biggest problems were running out of silicon and using a slightly different variation on top of the existing mix, not mixing ratios correctly for uncured silicon and accidental tears in the moulds resulting in a large waste of materials. Key lesson - prepare well and take your time.
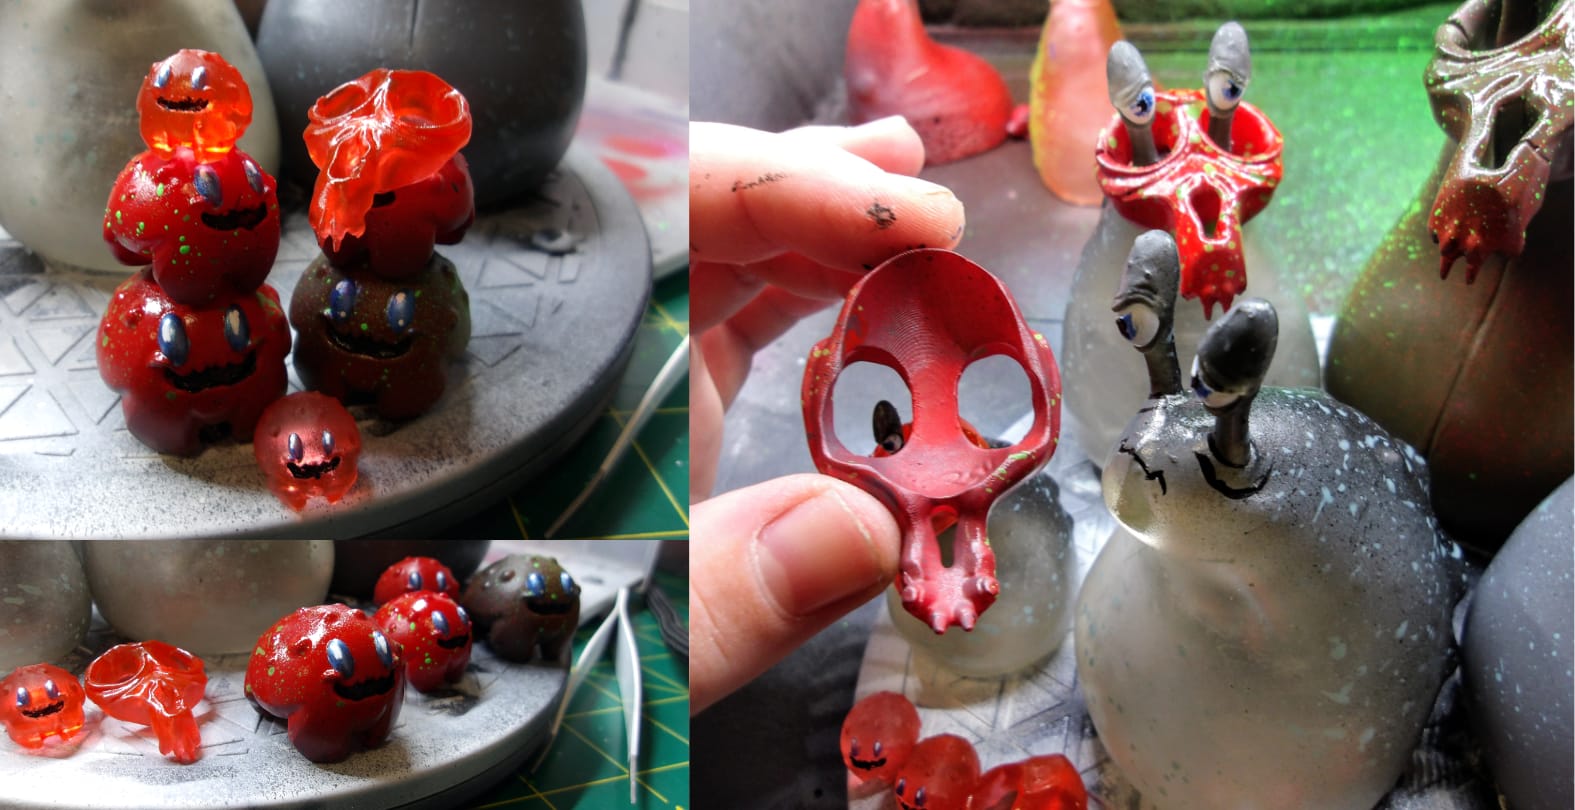
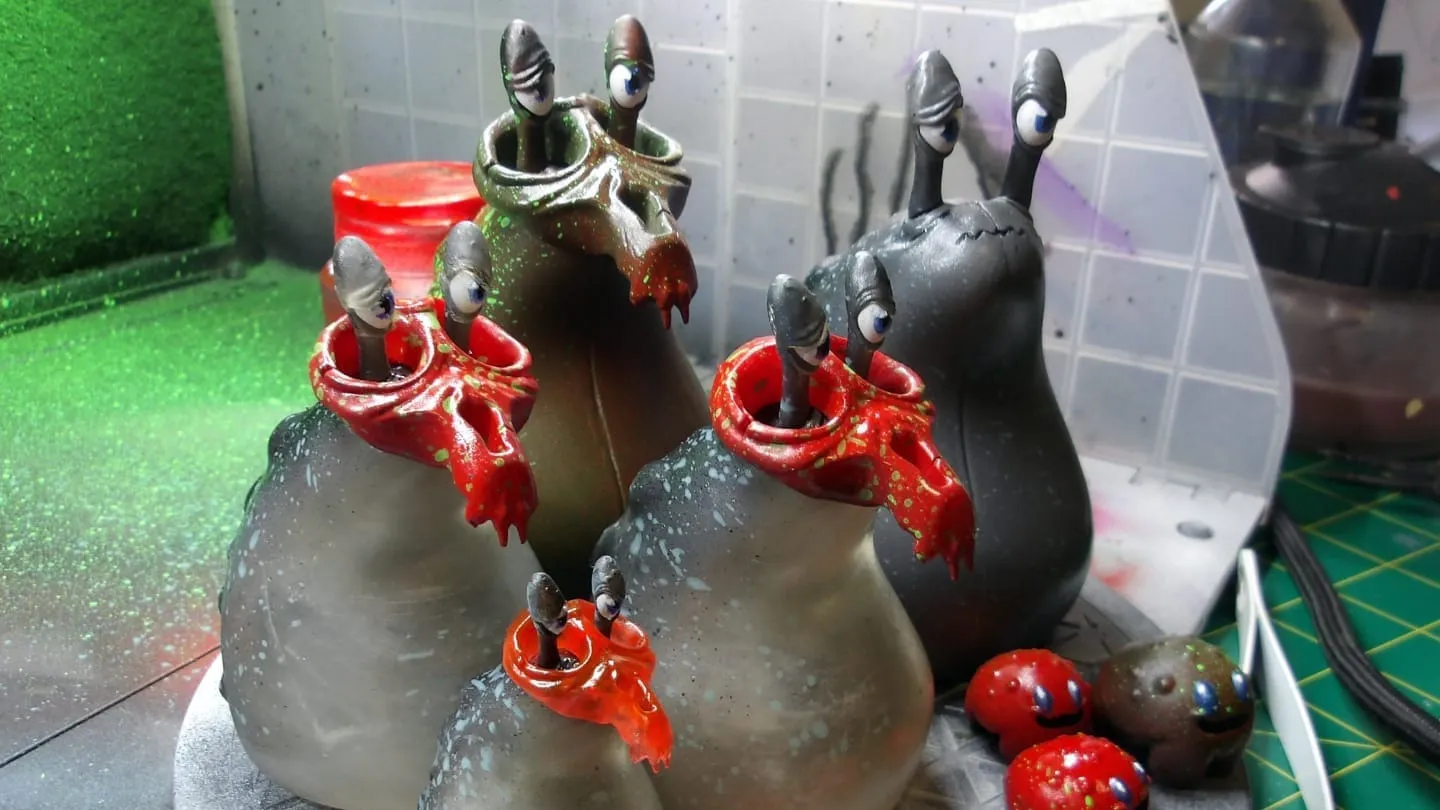
Rolling with plan B, preparing and painting the existing 3D prints was much more successful. I used a mix of spray paints and acrylics for details followed by a glossy carbothane spray as a sealant. Things didn't go quite according to plan, but I'm still happy with the result.
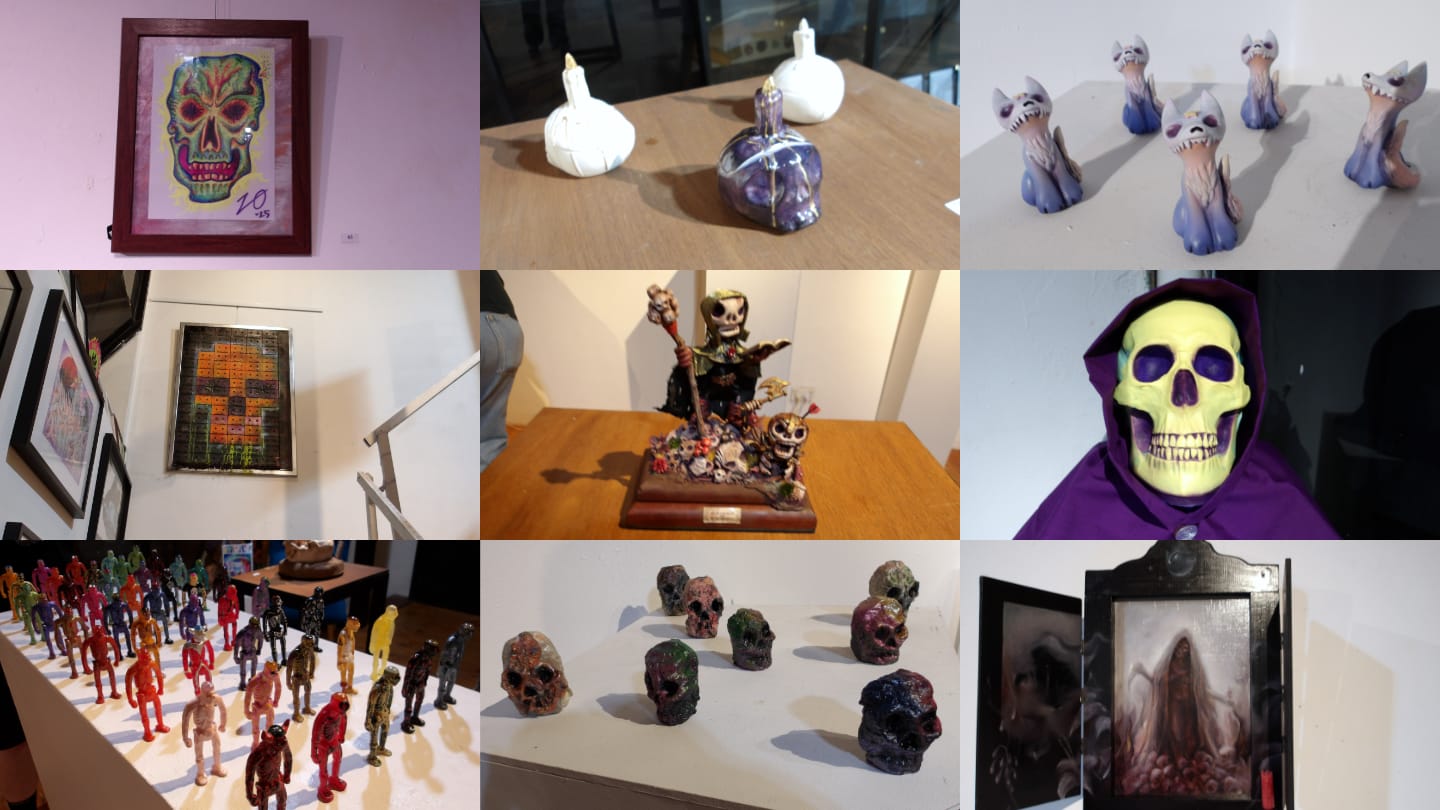
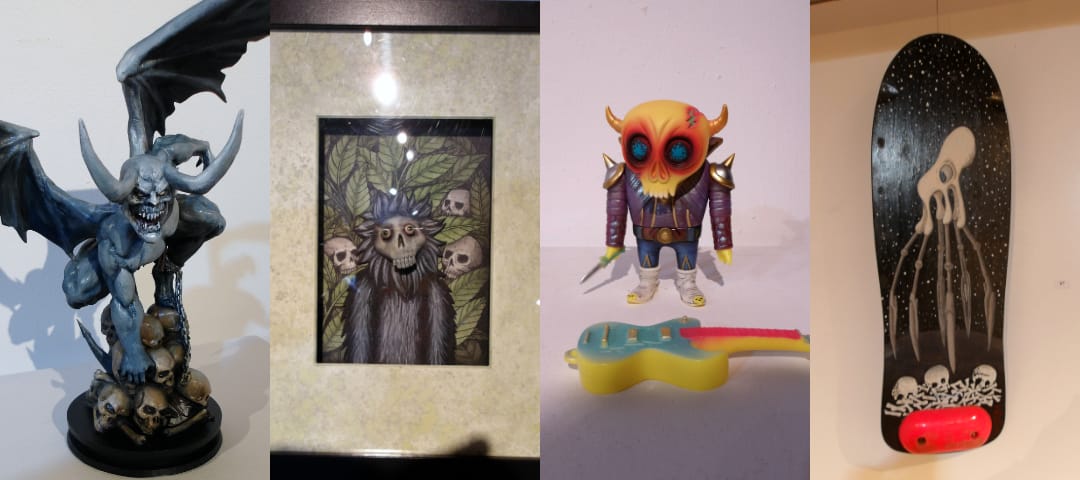
Exhibition Night
Here's a few pics I took from the opening night at TNTS. Great vibes all around and a personal affirmation that it was totally worth it.