Sphynxdawgs
My first crack at creating a set of figures from sculpting, moulding, painting, packaging and promos.

Mixed resin, miscellaneous meat products, acrylic based paints
The initial sculpt and silicon mould was made as a part of a 3-session toy making workshop held at This Is Not A Toy Store (TNTS) over on Lygon street in Brunswick, Melbourne. I'd definitely recommend checking it out if you're interested in learning about mould making or resin casting.
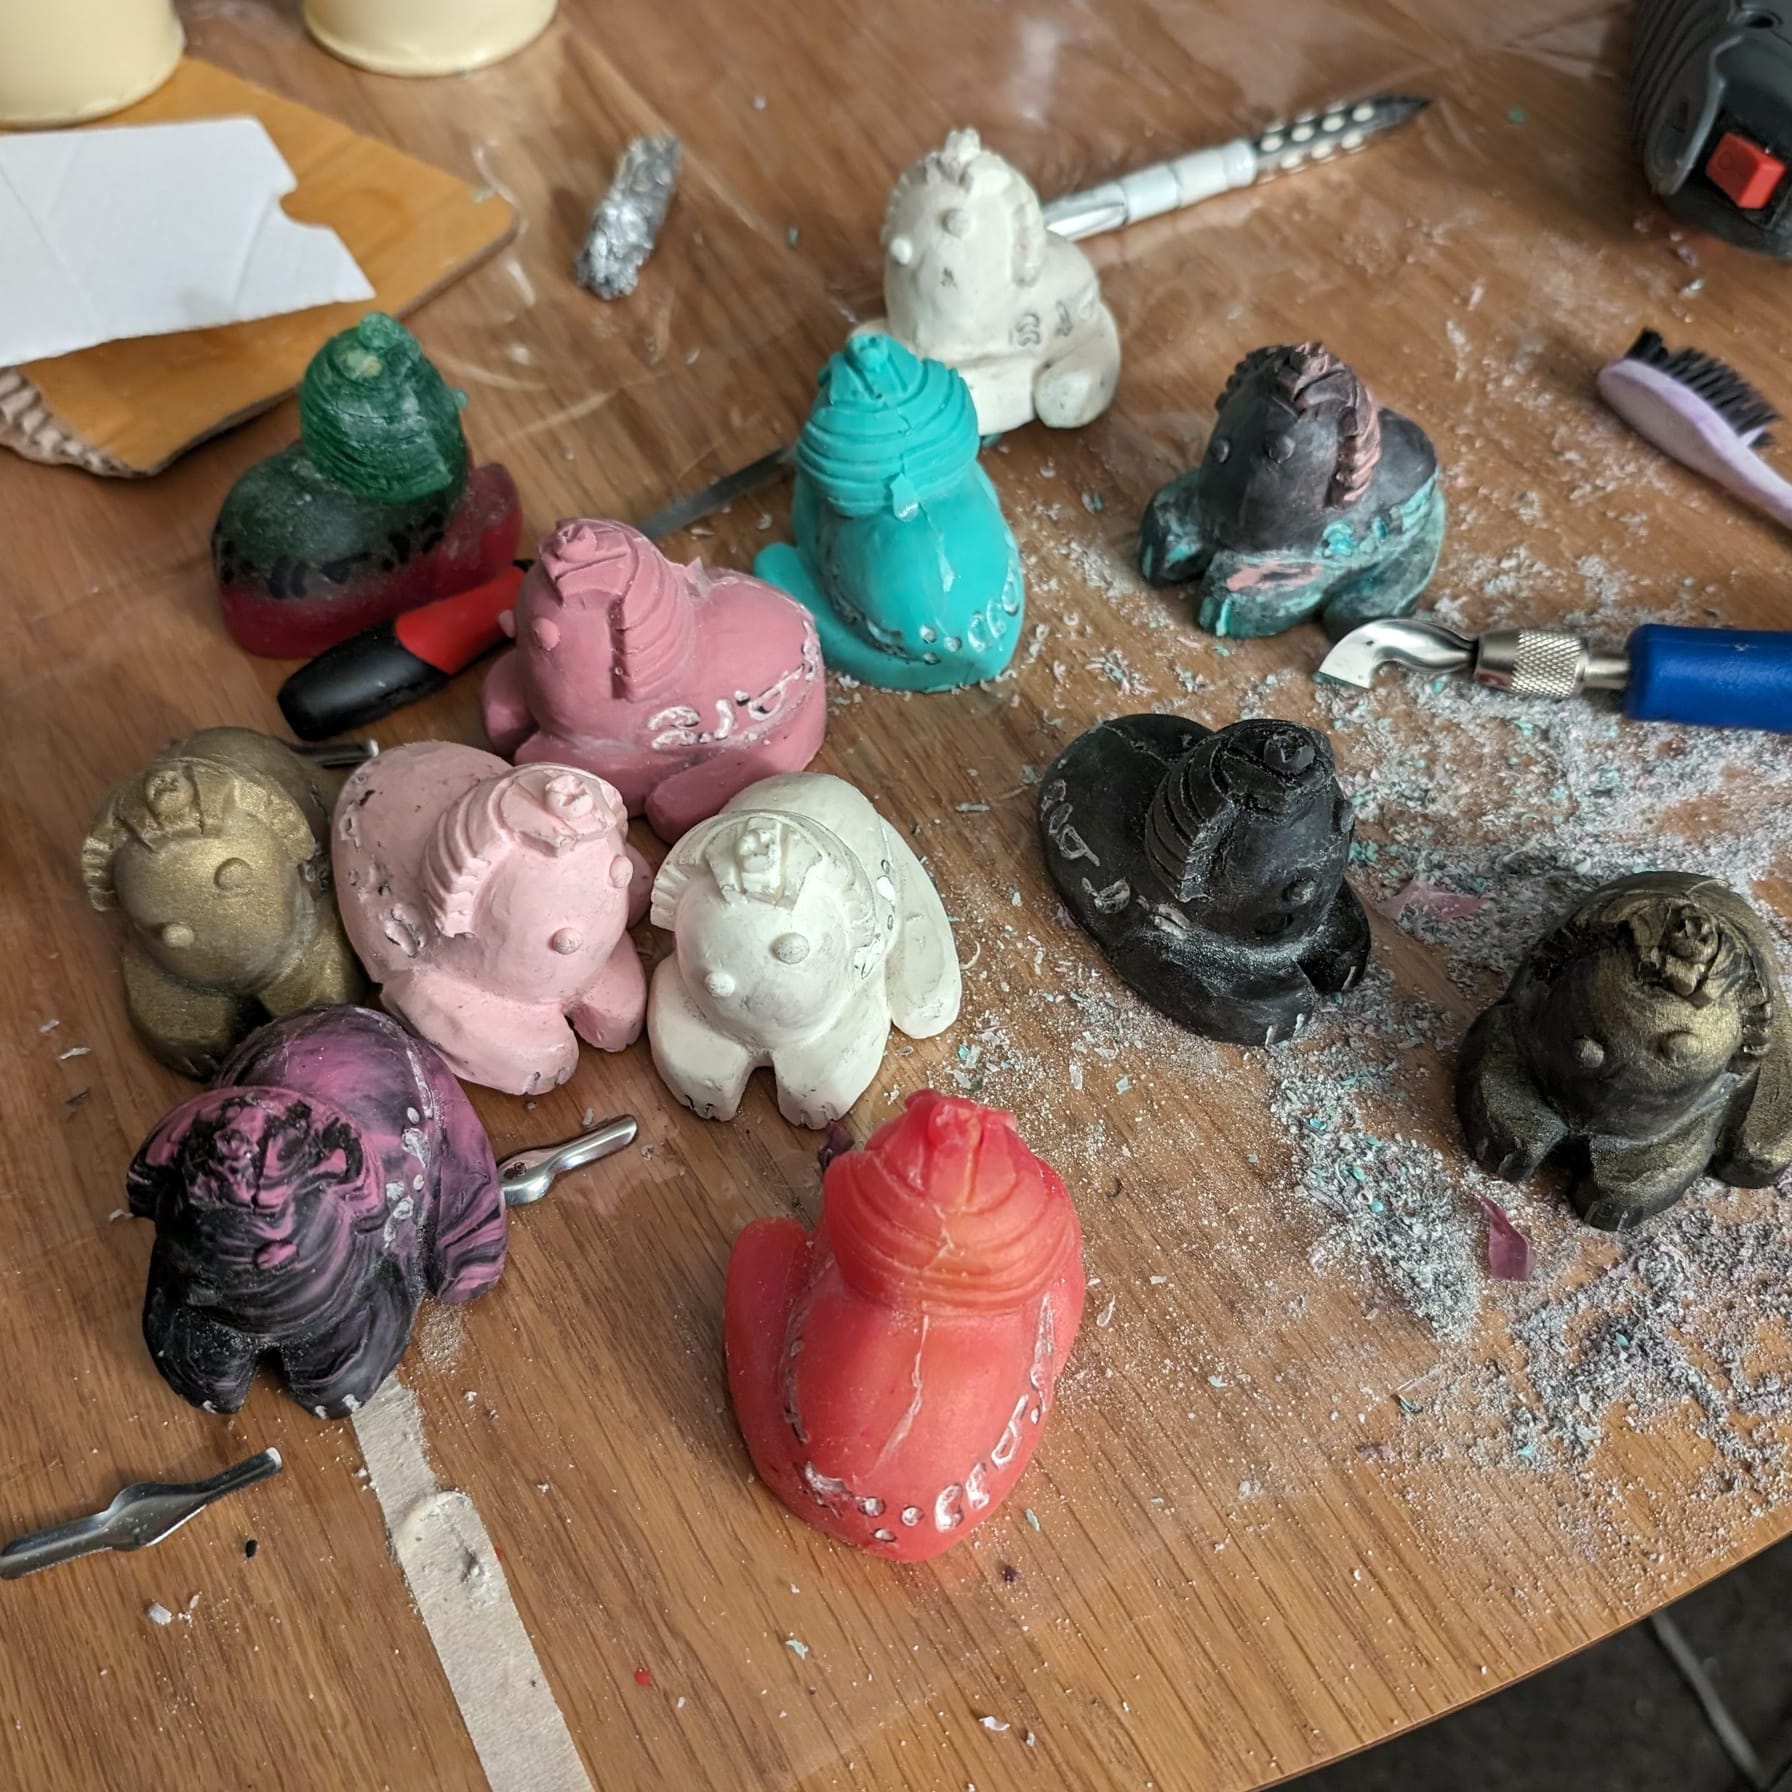
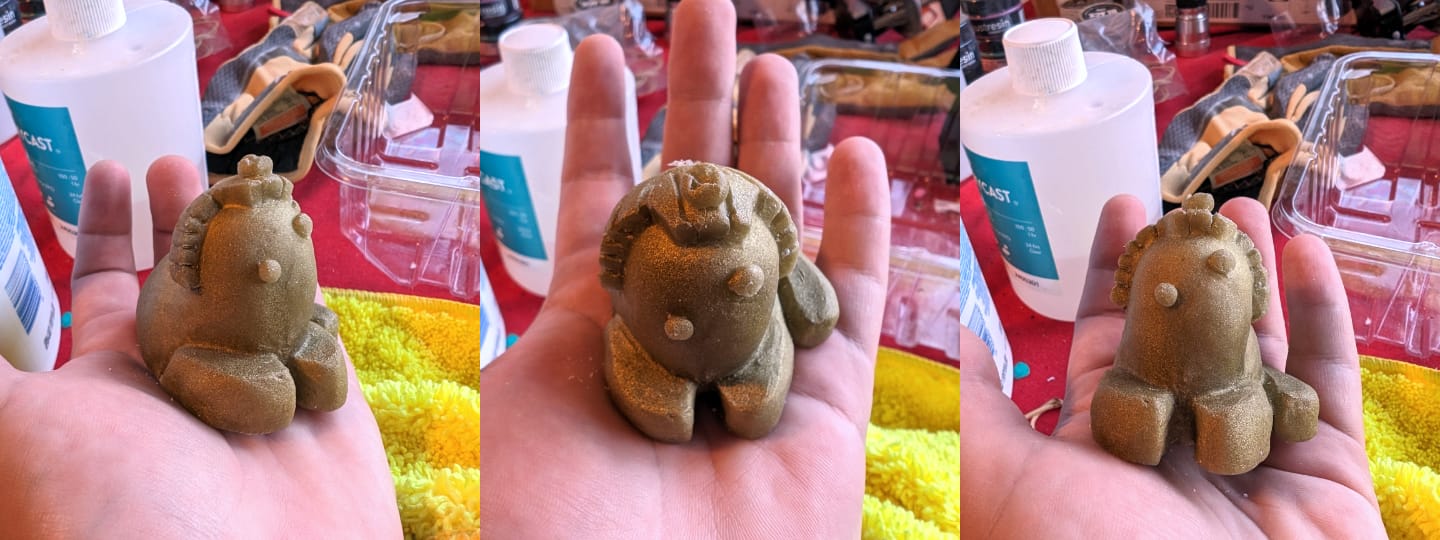
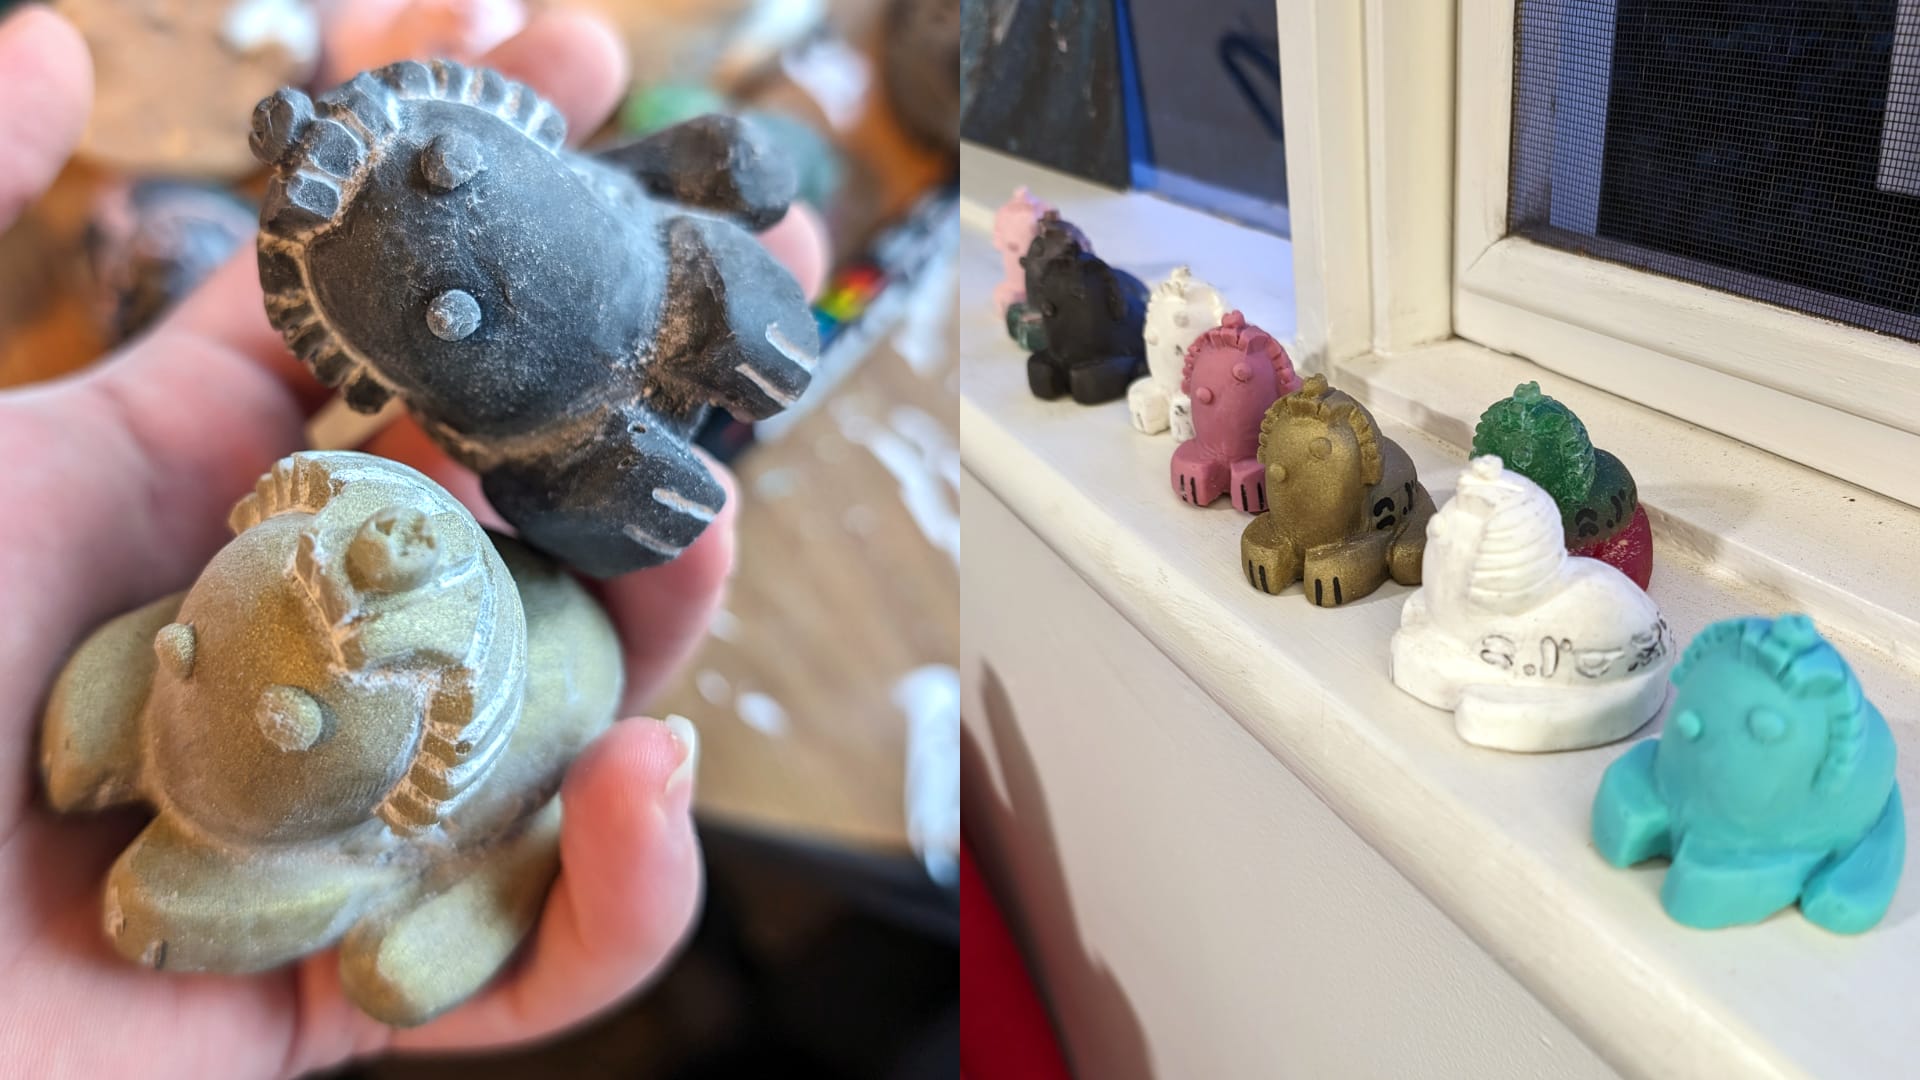
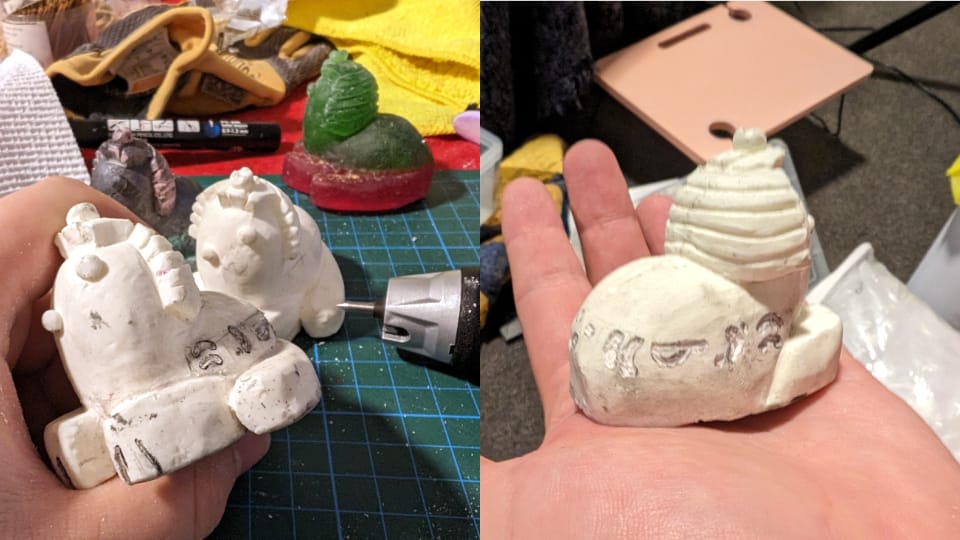
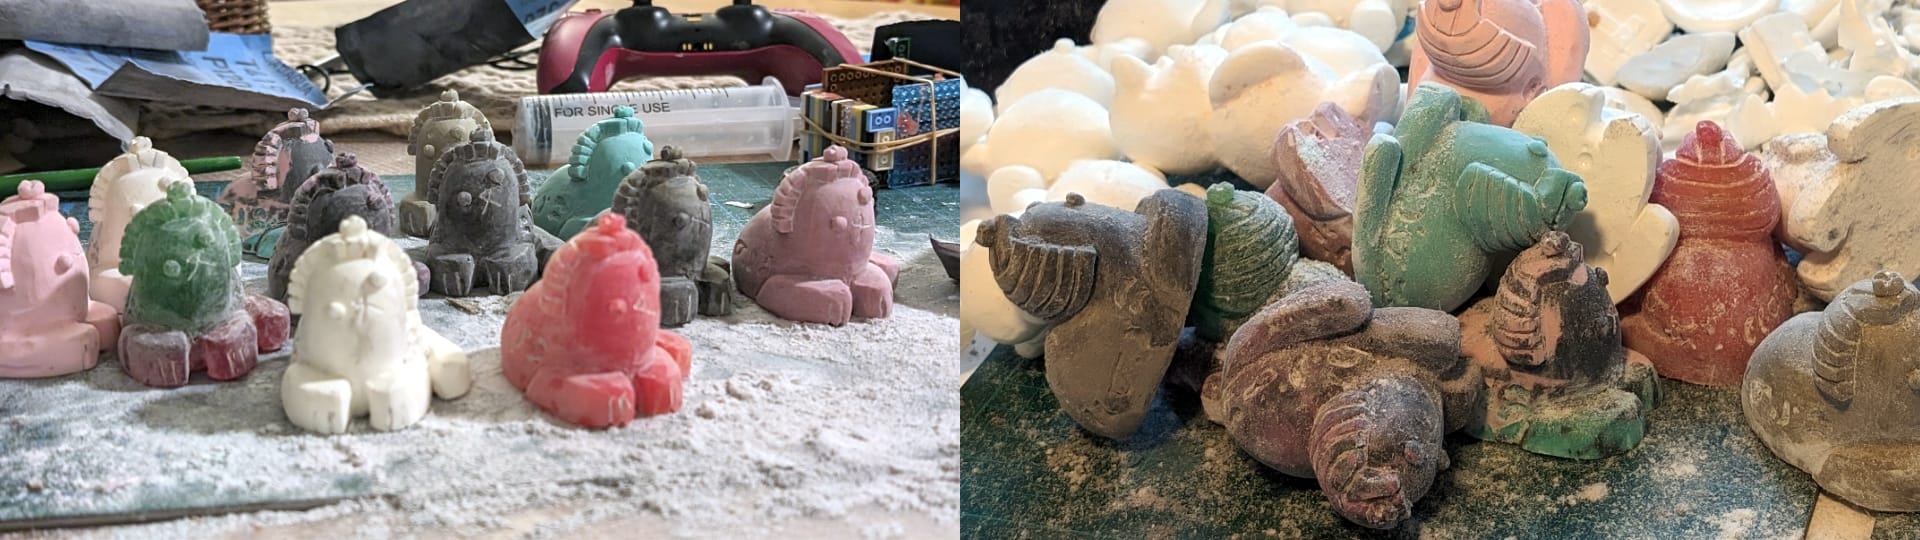
These were mostly experimental to get a feel for making making and replicating figures. I did a good amount of post processing on each of these figures to clean them up and add some extra details. I'd never experimented with post-processing resin based figures before, so I mostly used sandpaper and an engraving machine that I had handy. A rotary tool, files or other hand tools would have been way more effective however.
As you can see from the progress pictures, there was a lot of sanding mess involved. I learned the hard way about how much mess can be generated and what to do to keep safe. My key takeaways are:
- Ensure you have enough space and ventilation to sand and process your figure. If you can't do a 'wet sand', consider creating a sanding box or have a vacuum handy that can deal with the mess as you make it. It will get everywhere even if you don't see the particles.
- Wear protective equipment particularly a mask, goggles and potentially gloves. Reiterating the above, this stuff will get everywhere. Resin is particularly hazardous to your health.
- If you are to use a sanding enclosure be aware of the friction you will generate, especially with rotary tools. They can heat surfaces up very quickly, so make sure you're not accidentally creating a potential fire hazard.
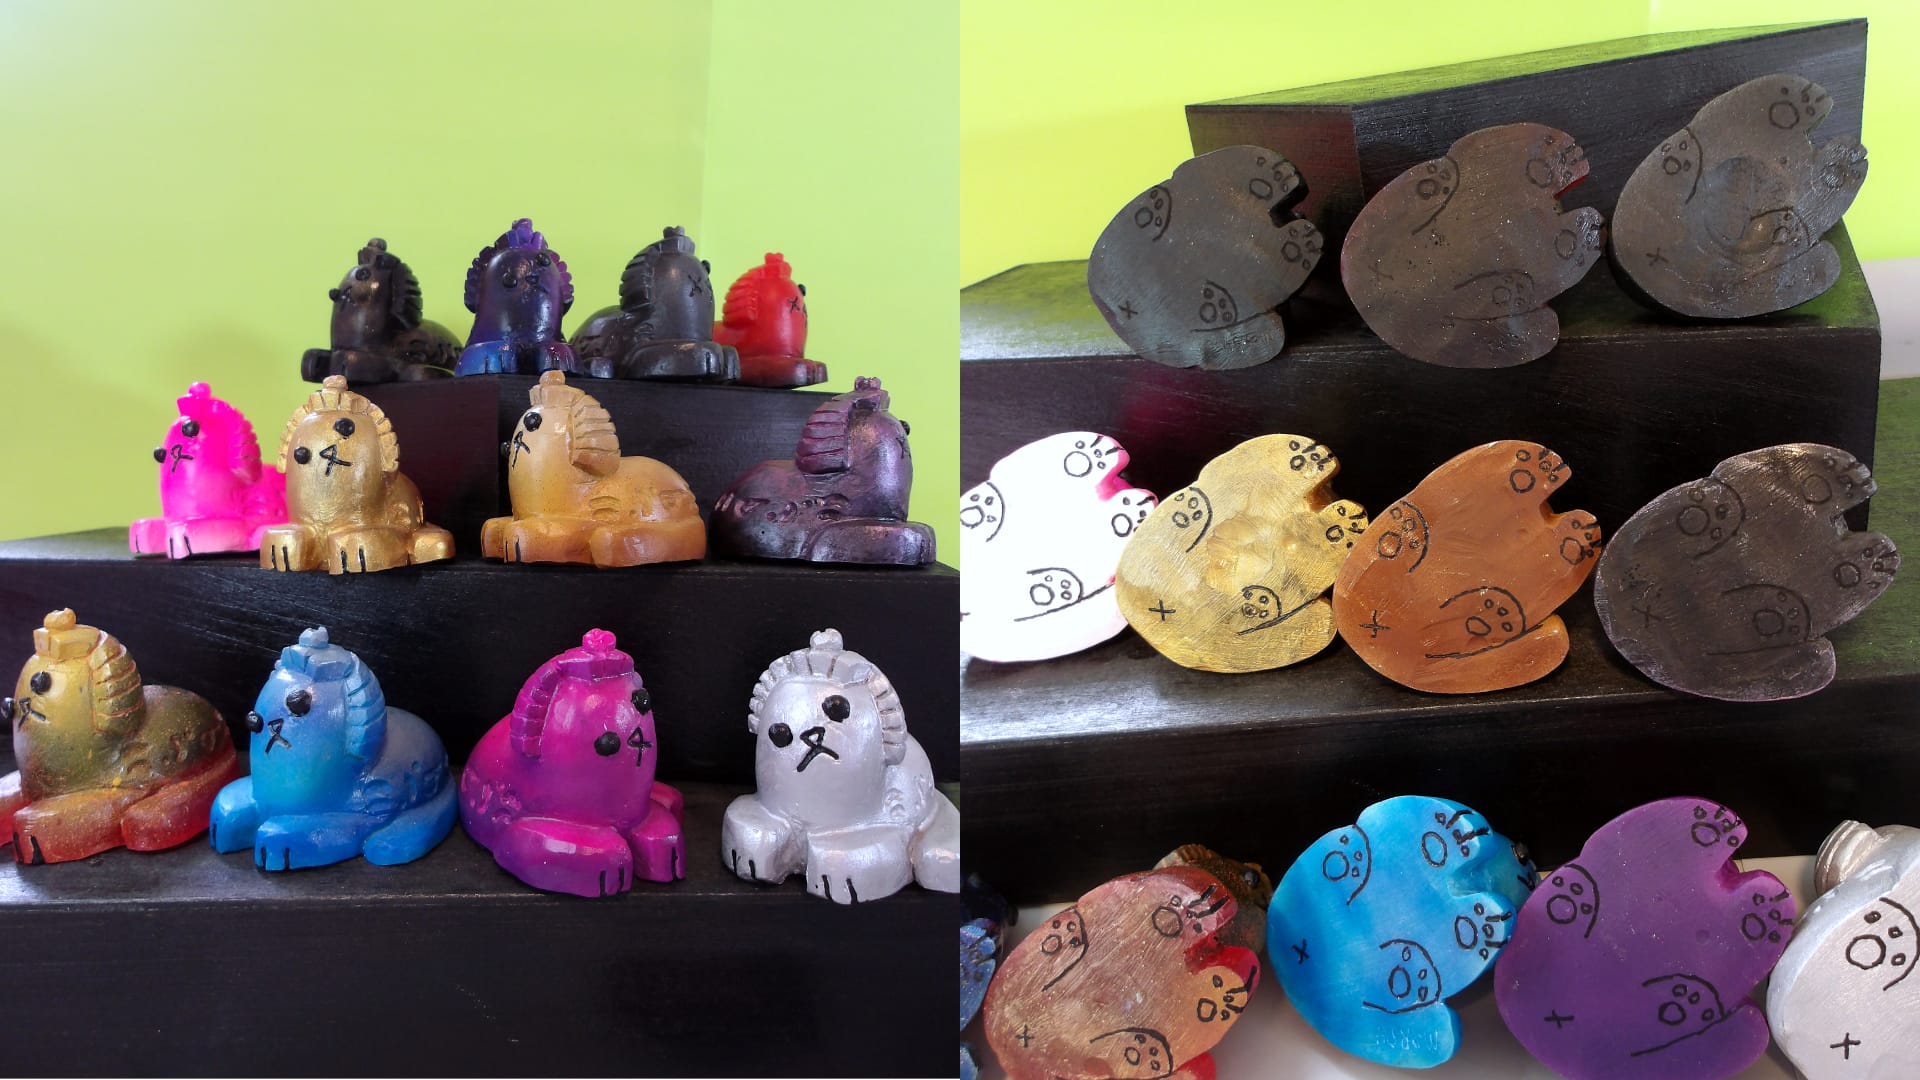
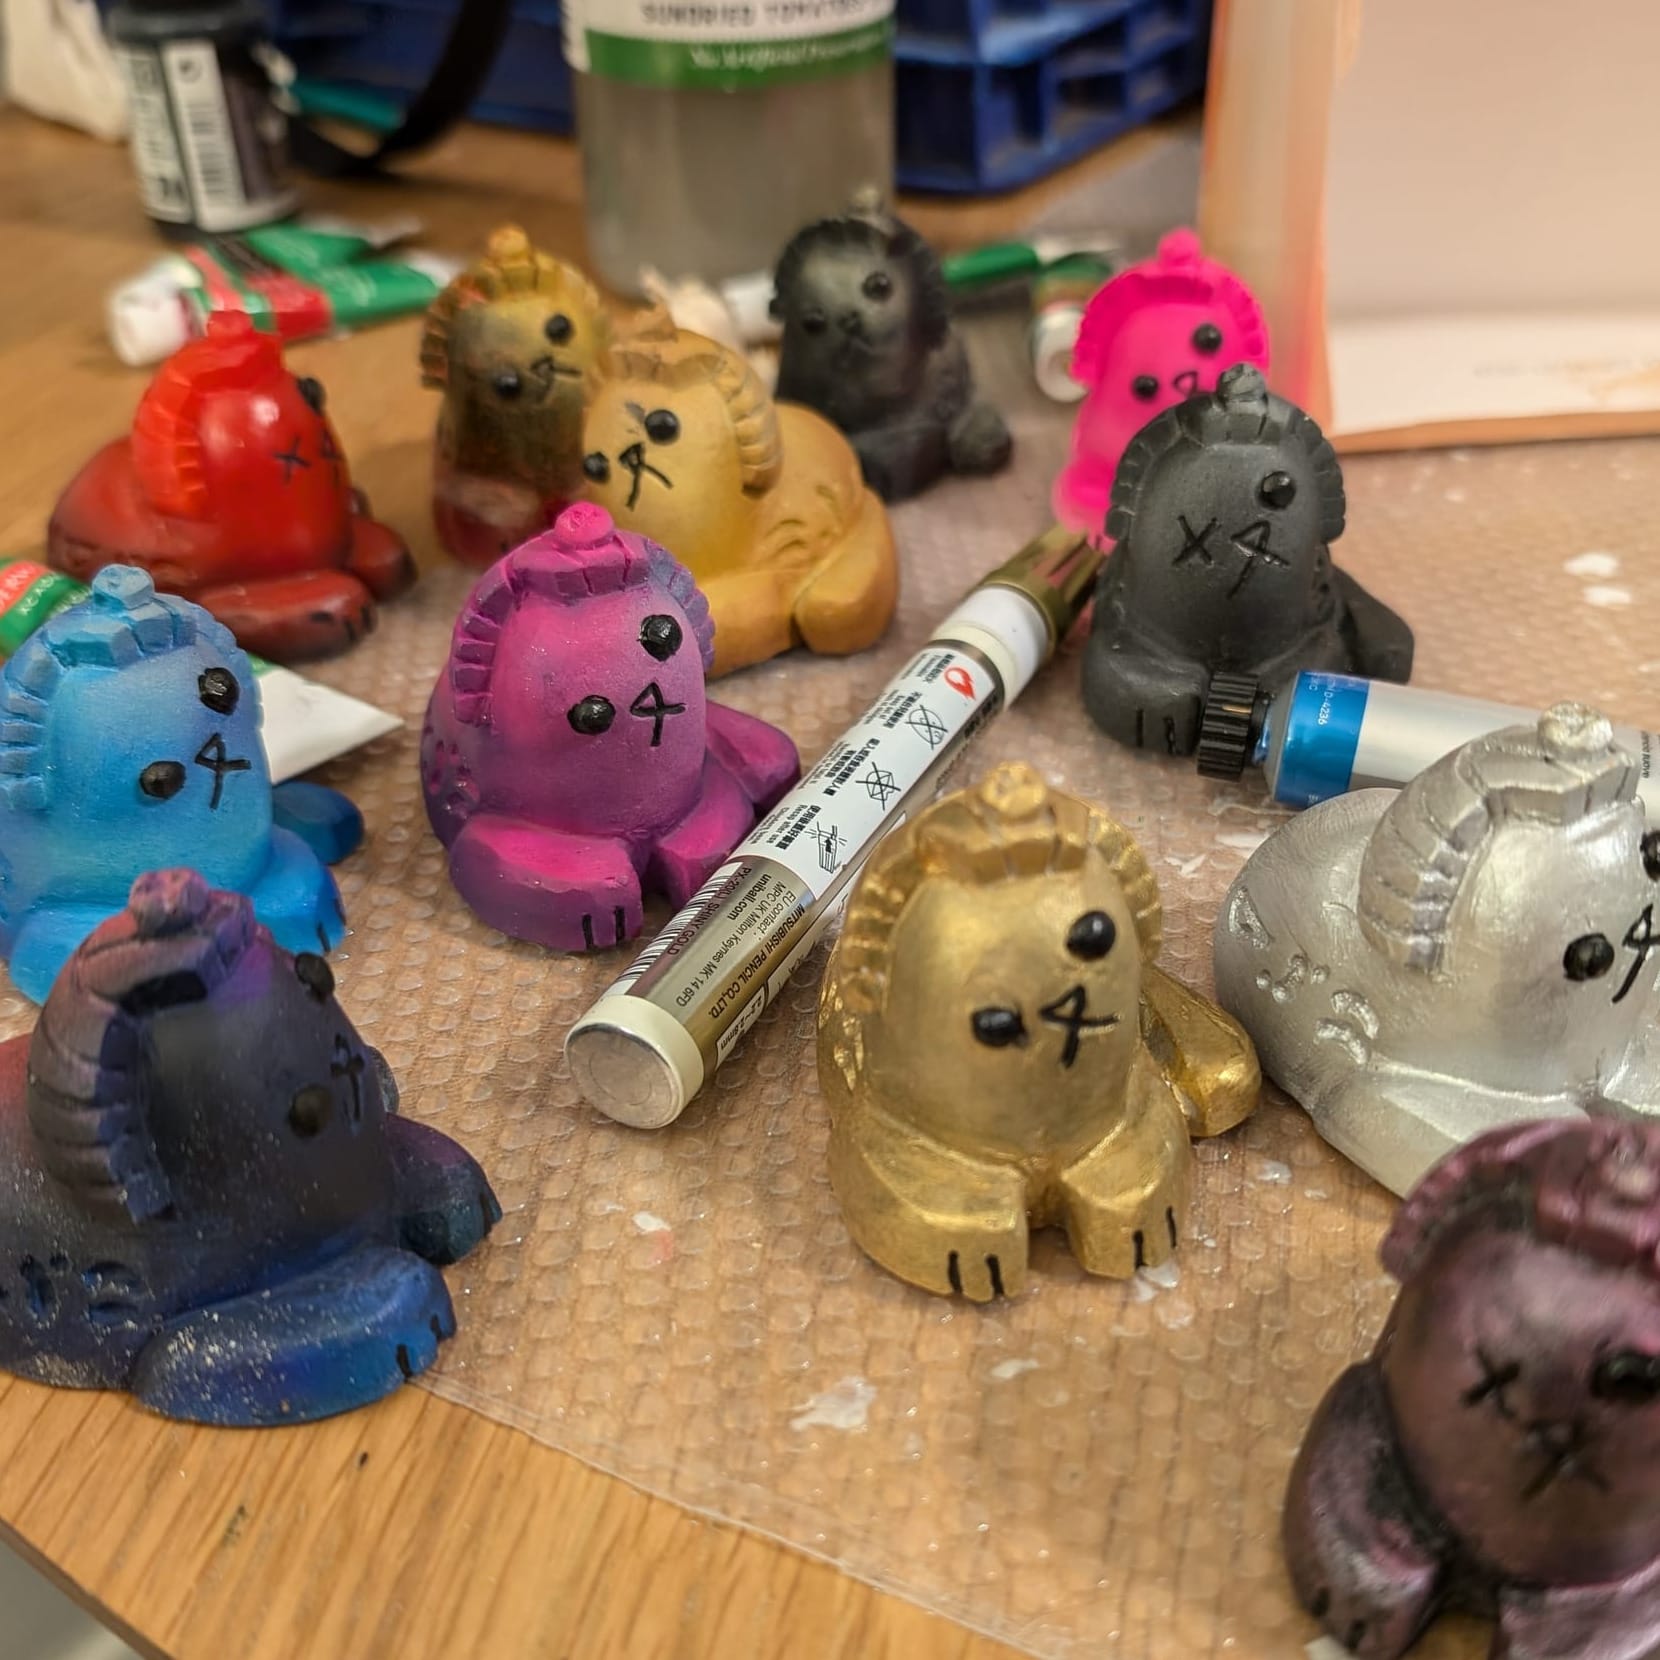
I had heaps of fun messing around with the various mix-ins and pigments kindly donated from a friend (if you're reading this, you're a legend!). I particularly enjoyed the vibrancy of pigment pastes. Painting each figure was also somewhat experimental to see what different results I could yield, add brush on details and finish it off with a clear gloss coat.
Packaging and Presentation
I wanted to go the extra mile and give packaging a shot to really finish the pieces off. The most time consuming part was photographing and processing each figure consistently, especially as I’m no photographer. I picked up a fairly decent digital camera and some cheap green-screen materials for the task. Each figure had pictures taken from both sides, front and back, then was edited in Affinity Photo to remove the backgrounds and do touch ups. The result was a collection of high quality images for each sculpt that I could easily use in promotional pieces, such as this short video for Instagram.
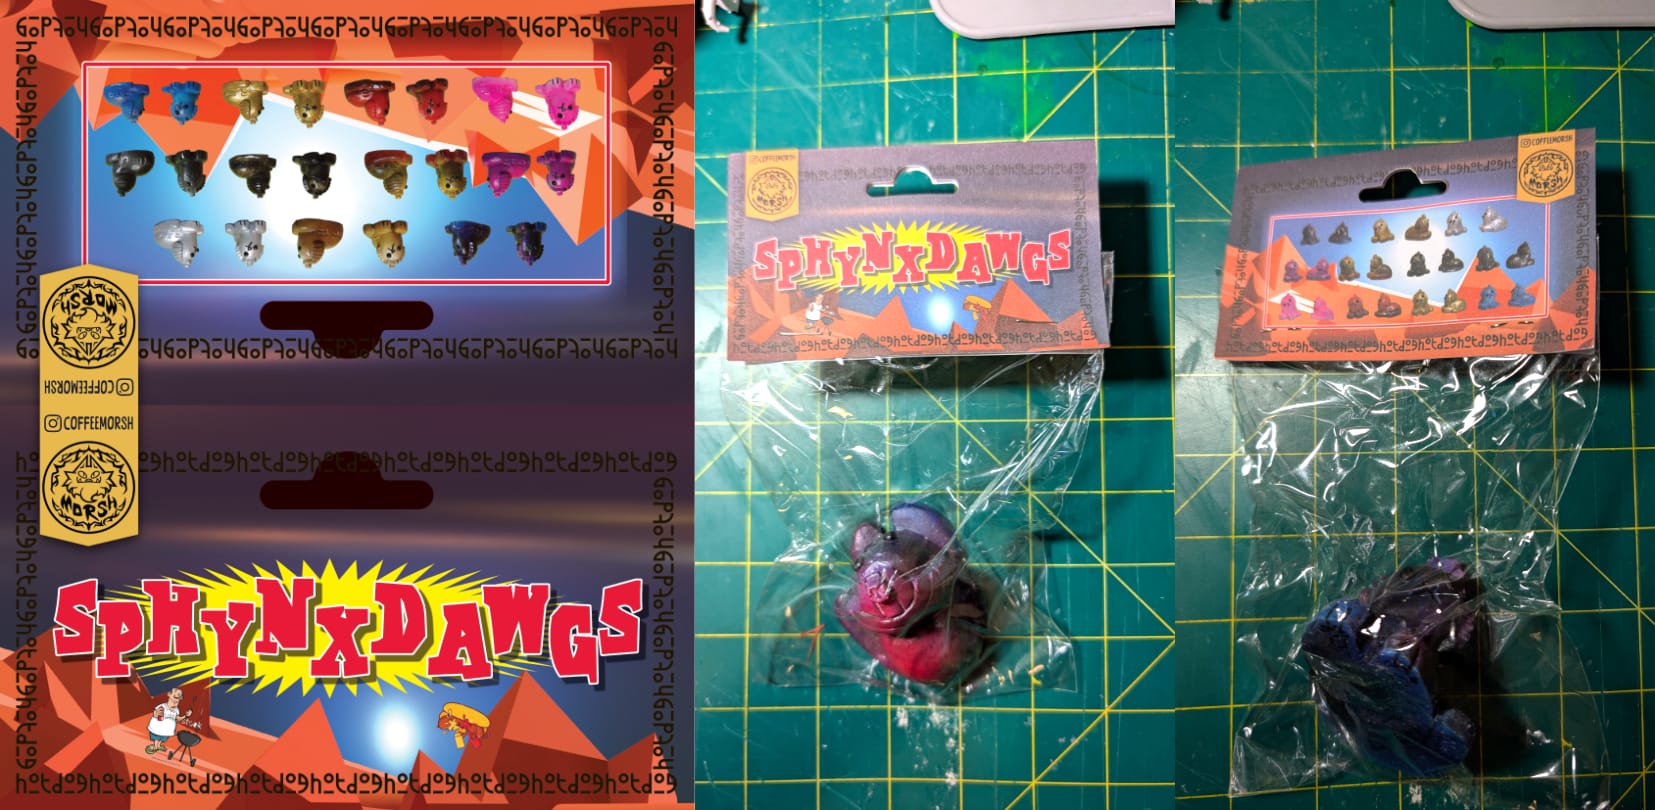
I created and printed packaging cards for each figure. The material I used to print on is structurally sound enough but isn't the right material for printing on directly, resulting in muddy colours. Next time I'll print on sticker paper to adhere to the backing. Despite this, I'm happy with how it all came together.


