What was I mayde for? MAYDE Custom show
A custom 3-in-1 Mayde vinyl toy submitted to a showcase.
Custom Vinyl Toy, 3D print
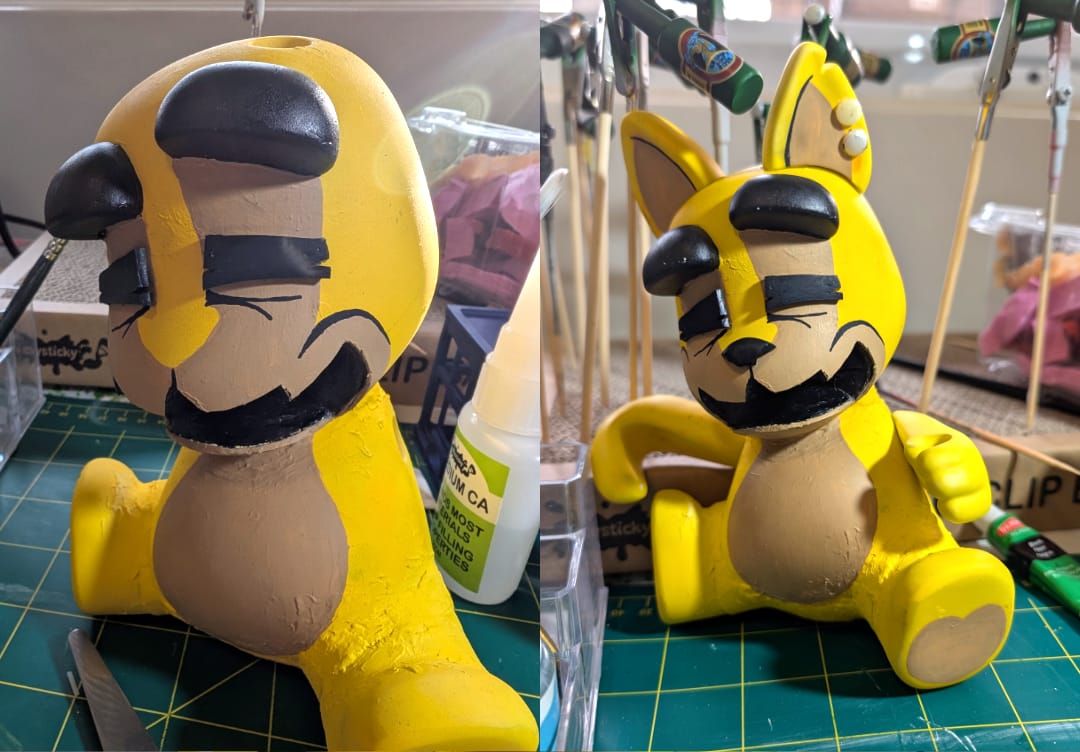
I entered this custom toy in May, 2025 as part of a show held at This is Not a Toy Store (TNTS) in Brunswick, Melbourne which featured several artist's customised versions of this amazing blank 3-in-1 DIY vinyl toy created by Mayde Custom.
The blanks themselves are really well done and generously includes 3 interchangeable features, opening up many customisation opportunities. The right arm in my piece, for example, would typically resemble a rabbit's ear.
I had a lot of fun making this one, and even more so checking out everyone's creations. This was my second entry to a show at TNTS, so I had a bit more experience and confidence coming into it.
Getting Into It
I started with a rough concept and figured things out as I went along, getting a feel for the doll and how I wanted to use the different shapes. I landed on a somewhat simple character but expressive character that would fit into a grungy setting.

With rough sketches outlined, I enjoyed creating the details. Cutting through the vinyl was a bit nerve wracking, but fortunately it worked out well. At the time I wasn't sure what would make a good filler material and ended up with airdry clay. This wasn't ideal as my lack of experience with the clay resulted in cracking and unintentional textures that couldn't be sanded completely.
Painting
Once things were dry and ready to go, I painted each part with an airbrush base coat and then hand painted the details. Once again, airbrushing humbled me. My inexperience with airbrushing made the experience somewhat painful, but in the end I'm happy with the results.
✨Custom Accessories✨
I had a lot of fun with the accessories. Following the 'working-it-out-as-I-go' ethos, the choice of accessories were made as I was painting the character and from mostly resin 3D printed or recycled materials. For example, the cushion was made out of some scrap material, doll filler and screwed into the model itself to provide extra stability. The tongue was also made out of repurposed silicon that didn't quite set right. While it failed as a potential mould, it made for a perfectly squishy tongue.
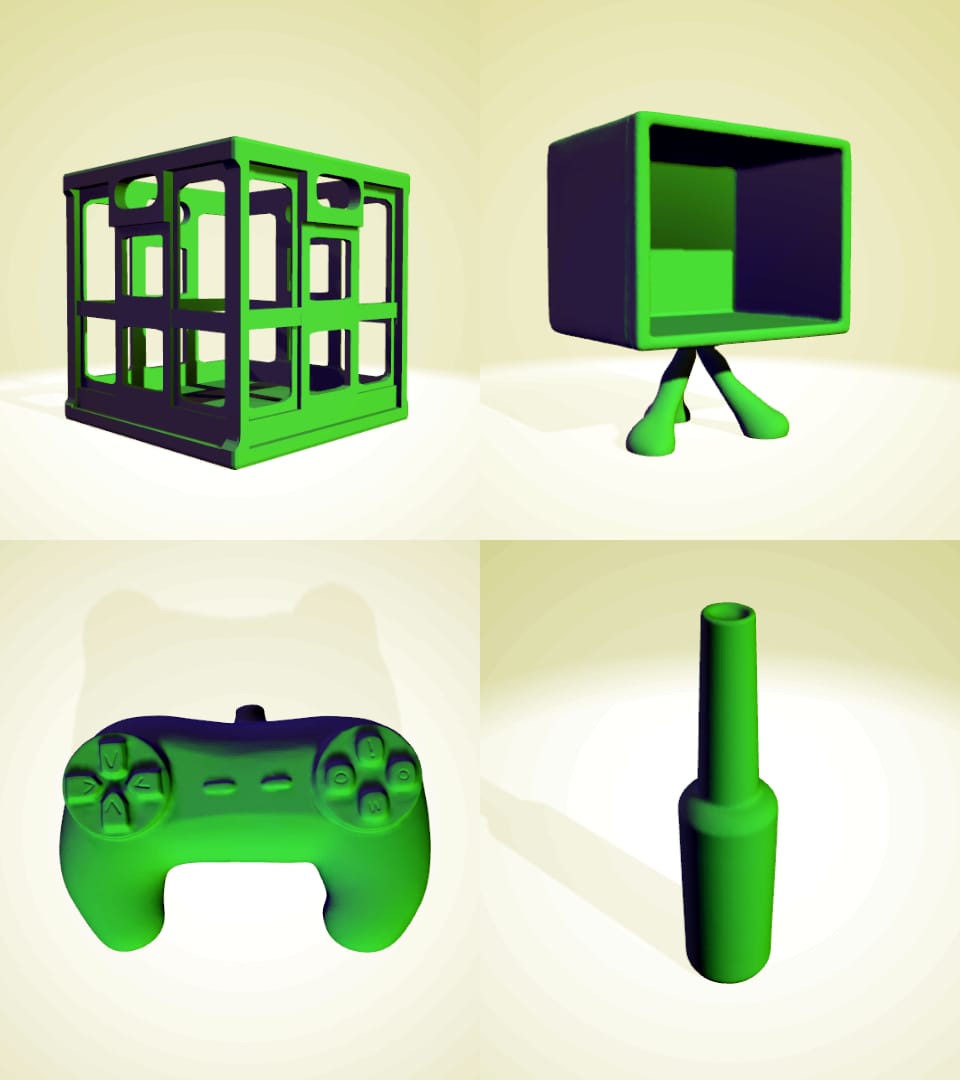
Revving Up the Printer
The 3D printed accessories were modeled in Zbrush on the iPad to try the program out. It was somewhat of a learning curve, having only had a bit of experience in Nomad sculpt and personally I am happy sticking to Nomad until I level up enough to justify the cost of Zbrush. Several test prints were made trying to get the scale right for this project, but it was worth doing.
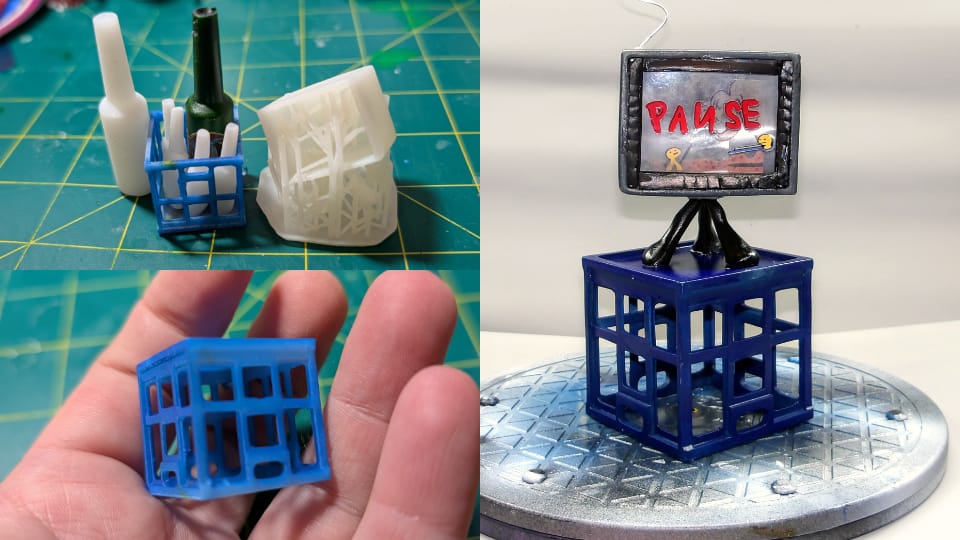
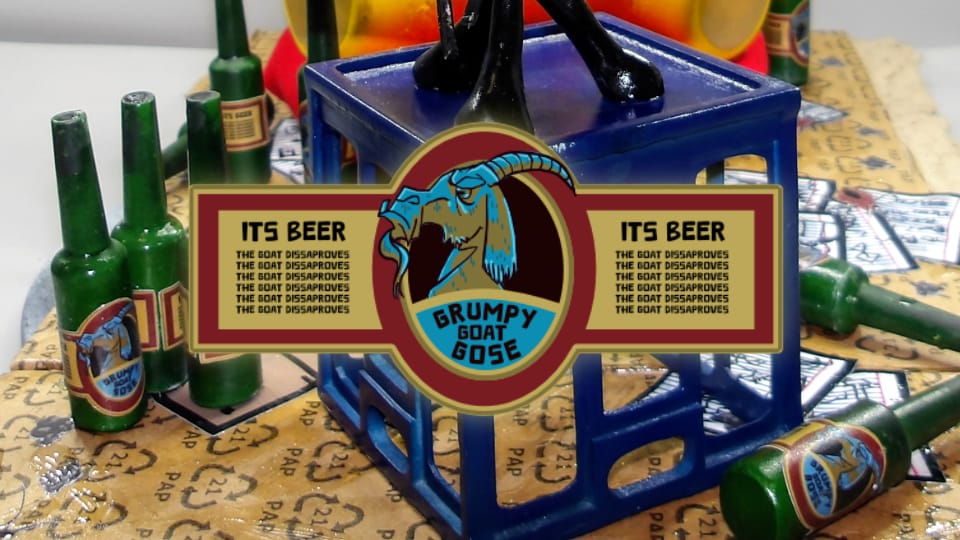
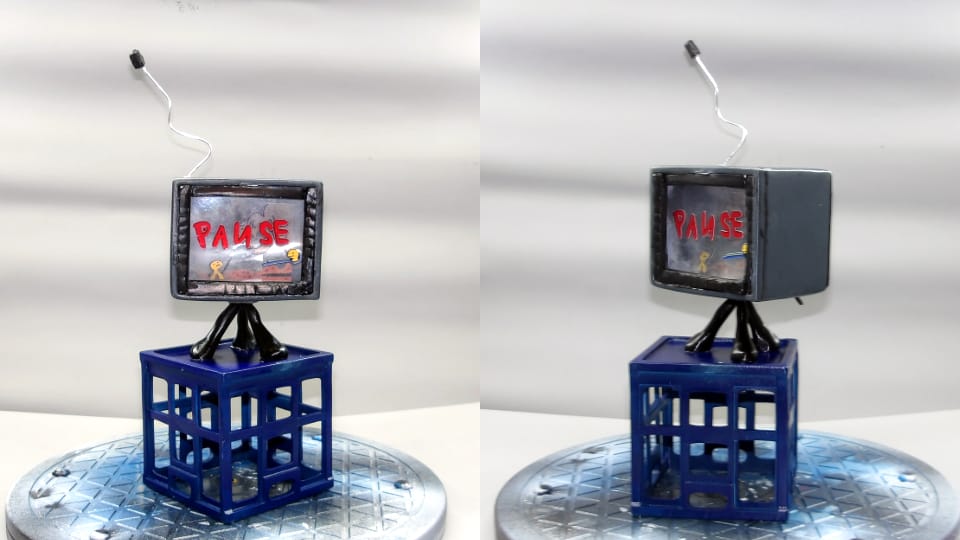
I really like this milk crate
Modelling inorganic subjects is not easy in a sculpting program
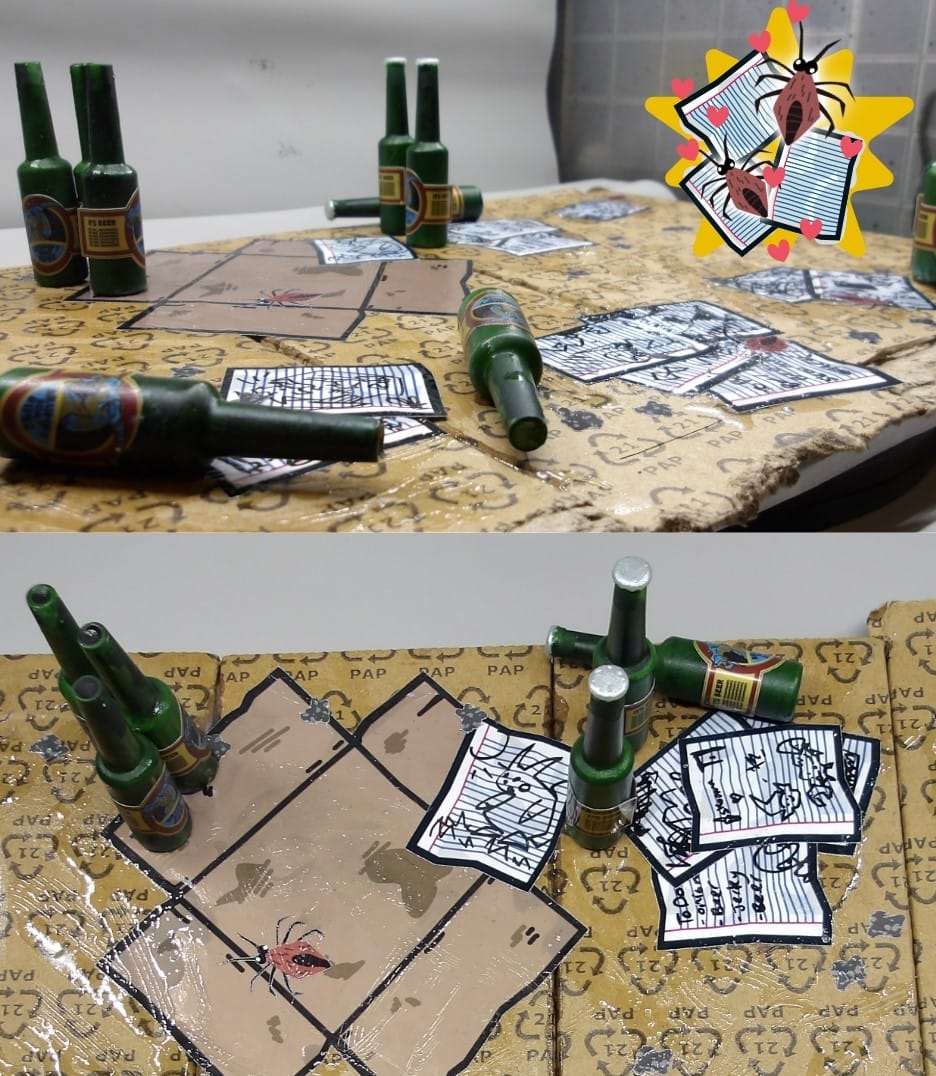
I created a bunch of vibrant, cartoony graphics, printed them on adhesive paper and cut it with my Cricut to add a little extra detail to the environment. This was a lot of fun and got me to think more about the world the character lives in.
The Cricut at work
The repeatability that the digital to printer to Cricut workflow provides opens up huge opportunities for similar projects in the future. For example, I used two variations of 'paper' to stick in the environment, each of which was doodled on manually to create more of a unique feel rather than just repeating a prefab graphic.
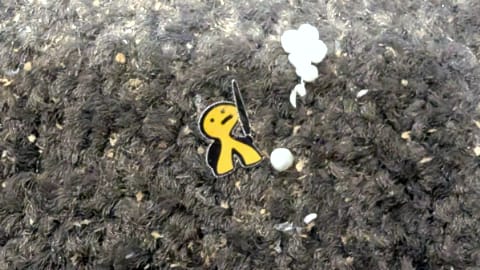
A very tiny warrior (easily less than 1cm) got stuck in the mess of my carpet
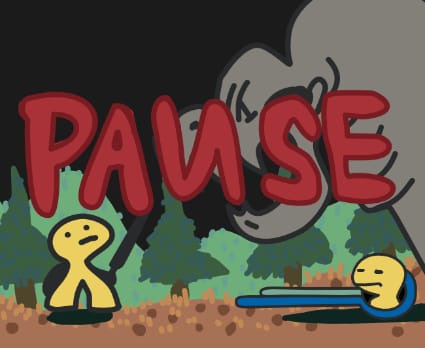
The TV screen was less of a success. Despite the geometry of the model itself breaking in several areas and structural fragility where the legs converge, the biggest challenge was the TV screen. I was a little too ambitious with the graphics and didn't factor it in to the modelling stage. I wanted to create a paralleling effect using multiple layers to represent a graphic element, including a background, foreground, character 'sprites' and HUD. The stickers printed out great, but the clear material chosen for each layer was too opaque and aligning it in the rigid TV model was unforgiving.
Overall I'm stoked with this piece. While I didn't get to the opening night, I'm even more stoked with the custom work other artists created.


